

Genealogy Scanning Software
Can't Find a Driver for Your Scanner? VueScan is here to help
VueScan is the worlds most widely used scanner software. It works with over 6500 scanners, even scanners that don't have a driver from their manufacturer anymore.
Download VueScan today to get the most out of your scanner
The Universal Scanner Software
VueScan is a scanning application for Windows, macOS, and Linux that replaces your scanner's software. It works with flatbed, document, and film/slide scanners. Trusted by both home users and large organizations, VueScan is the perfect solution for unsupported scanners or those needing more powerful scanning features.
Works with Old Scanners
We have reverse-engineered old scanner drivers so you can use scanners no longer supported by manufacturers or modern operating systems.
Works with New Scanners
VueScan works with the latest drivers and plugins from manufacturers, ensuring compatibility with new scanners on all major operating systems.
Works on All Operating Systems
VueScan works seamlessly on Windows, macOS (Intel and Apple Silicon), and Linux. The software is regularly updated to ensure compatibility with the latest OS versions while maintaining support for older systems.
Works on All Types of Media
VueScan works with all types of media including documents, photos, film, and slides. Works on reflective and transmissive media. Scan virtually any physical media with professional quality results.
The Tool For All Genealogists
VueScan has the features you need to scan your historical photos, documents and film
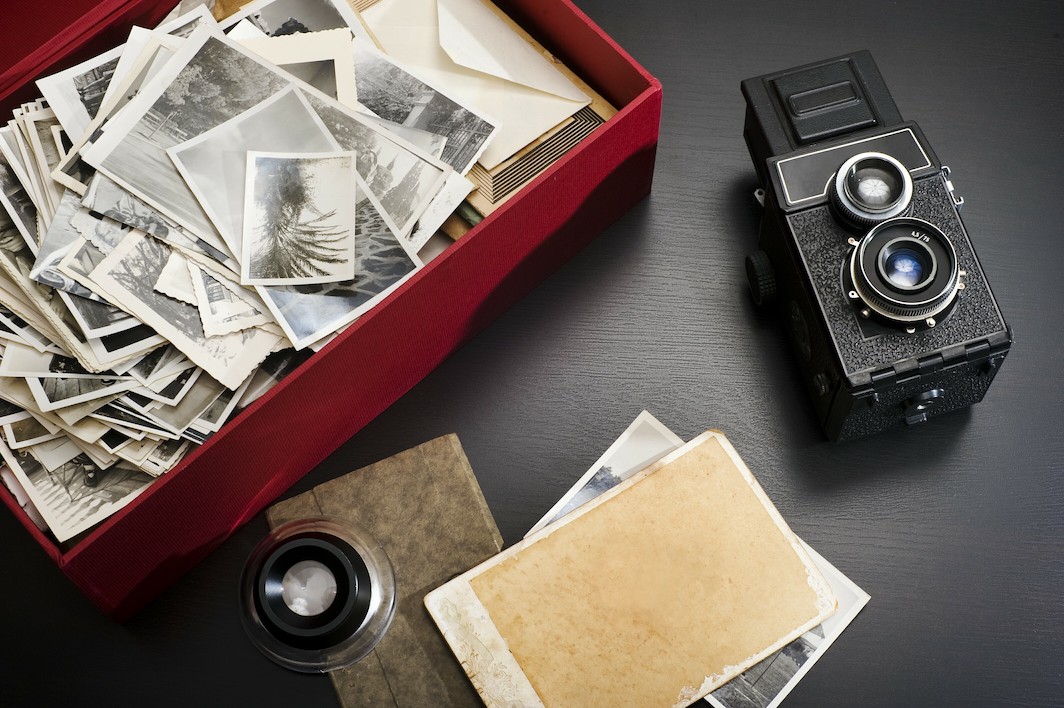
Your old family photographs are one of your most prized possessions and form a huge part of your family history. Being able to scan them quickly and easily so you can preserve them for future generations is essential.
Getting Prepared
Here are some tips we've put together to help your scanning be as efficient and as fast as possible.
Getting started with our 5-step process:
- Get organised and Prepare
- Scan
- Ensure Quality
- Add Metadata
- Backup
Are you ready?
-
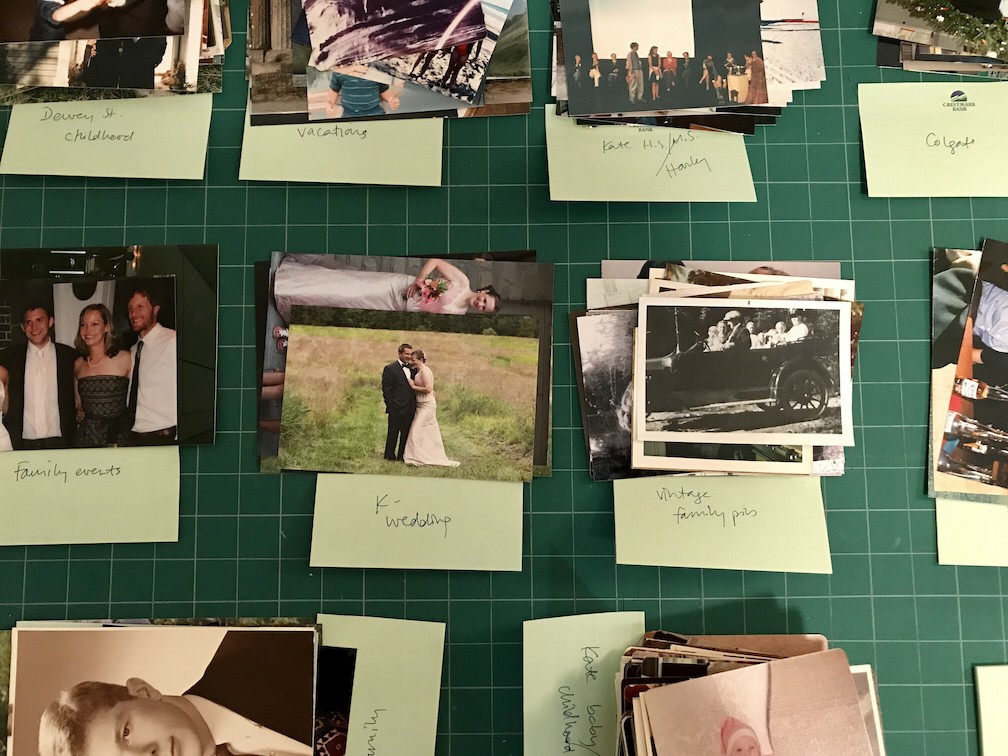
Prepare: The more organized you are prior to scanning the better. If you take the time to add a note card prior to scanning, you can easily find groups of photos and ensure your organization stays in place.
-
Scan: This is the time that VueScan is needed. Choose the right DPI setting and make sure your scanner is free from dust and debris and now you're ready.
-
Ensure Quality: Take the time to check your photos and ensure that the quality is what you expected.
-
Add Metadata: Don't forget to rename your photos with either dates or names and location.
-
Back Up: Now is the time to back up your photos onto an external hard drive in the cloud. You don't want to lose all the work you've been doing by not having a backup system.
Getting organised
What scanner should I use?
It depends on what you plan on doing with the scanner.
If you're scanning many photos, we recommend getting a Fujitsu iX500, Epson FF-640 or Epson FF-680W. We've tested these and have scanned 2500 photos per day with them. You can often get the iX500 for a good price on amazon.com or ebay.com and can resell them on eBay when you're done.
If you're scanning many documents, we recommend getting a Fujitsu document scanner, especially the iX500. These are fast, reliable and work very well with VueScan.
If you're scanning 35mm film, we recommend getting a used Nikon film scanner on eBay. These are the best film scanners ever made. They keep going up in value, so you can probably resell them on eBay for more than you paid.
If you need a small, light, portable scanner, we recommend getting a used Canon LiDE scanner on eBay.
If you're scanning film larger than 35mm, we recommend a used Epson Perfection 4870/4990/V700/V800 on eBay.

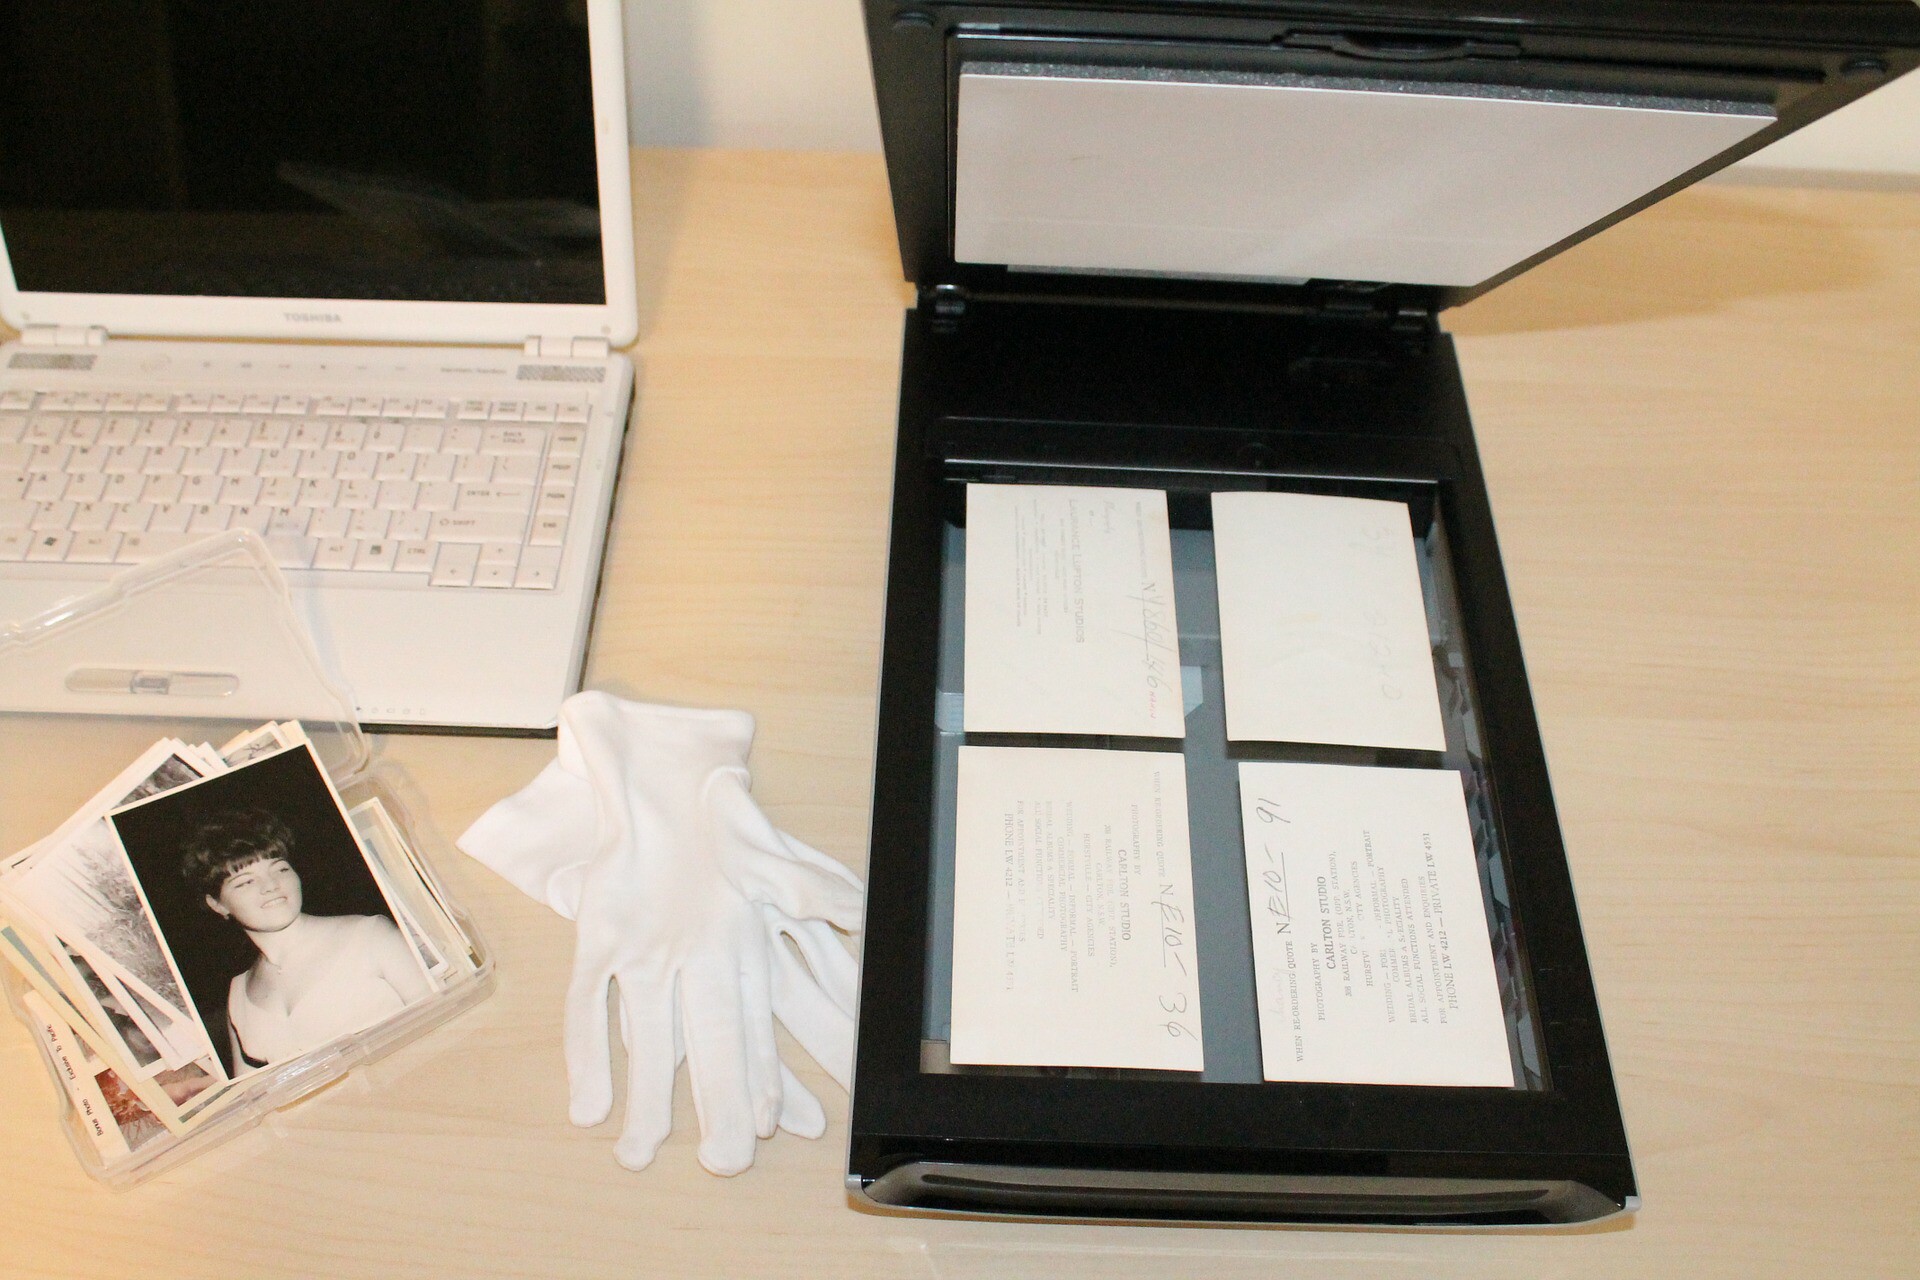
Get prepped
Wash hands and clean scanner glass. Unplug the power cord. Dust the glass lightly with a lint-free microfiber cloth. To clean smudges, moisten a fresh cloth with a small amount of glass cleaner and wipe the glass. Do not spray cleaner directly on the glass. Do not use cleaners with acetone, ammonia, benzene, or carbon tetrachloride that might damage the glass. Be careful not to push on the glass or cause scratches. Old photos are often dirty. Clean the scanner glass often using a fresh cloth.
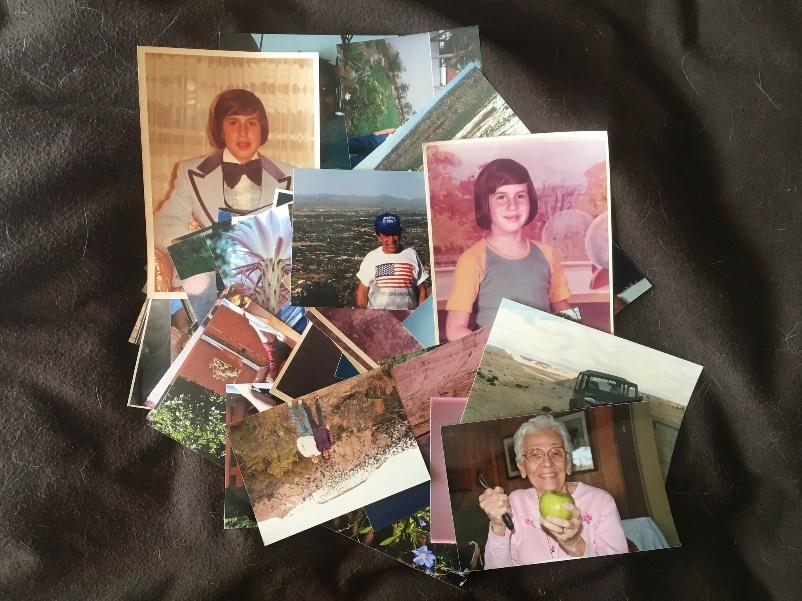
Remove staples, paper clips, rubber bands and string from the pictures. If you're working with a photo collection, try to preserve the images' original order and scan them in that order or organise them by date or theme (Birthdays, holidays, pets, sports etc.)
Check your settings in VueScan
There are three important settings to look for -
- Color: Scan in color—not grayscale—even for black-and-white or sepia images. Although the color options produce larger files, scanning in color gives you more options for improving the images when you edit them.
- Resolution: Choose a high resolution: 300 dots per inch (dpi) is satisfactory for reprinting a picture at the same size as the original, but you might want to print an enlargement later or zoom in to the photo on your computer screen. If your resolution is too low, the image will look blurry and pixelated. For your digital photo archive, you should scan small prints at 1,200 dpi and large prints at 800 dpi. These high-resolution scans take longer and produce larger files, but extra hard disk space is fairly inexpensive these days.
- File format: You can save your scanned photos in an uncompressed file format, such as TIFF, for optimal image quality. The JPG format, used to email photos or post them online, is a less-detailed, compressed format. Because TIFFs retain more detail, they're larger than JPGs and take up more hard disk space. If you scan pictures at a high resolution, you'll notice little difference in quality between TIFF and JPG files, but JPGs do tend to degrade each time you save them. If you want to edit a JPG file, first save it in a TIFF format and keep an unedited copy of the TIFF.
Start scanning
Scanning photos doesn't need to be complicated. With VueScan you can just put a single photo in the upper corner of your scanner, select the photo size so the scanner doesn't have to scan unnecessary space, and press scan (no need to preview). Then just repeat for as many photos as you have.
For faster and easier scanning of multiple pictures on a flatbed:
- Set 'Input | Media size' to 'Custom' (this will be the maximum)
- Put pictures on flatbed, against edge to make straight
- Press 'Enter' key (or click 'Preview' button)
- Adjust cropping of an image with mouse
- Press 'Enter' key (or click 'Save' button) to save to file
- Repeat steps 4-5 for each additional image
- Go to step 2
Label and edit your images
After scanning and saving the images, you also can use Picasa (or whatever photo-management software you have) to label and improve them.
Labelling your images with “tags” and captions makes it easy to find the photo you need and quickly identify who's in it.
Back up
Once you've digitized your family photos, take the time to back up the files so a computer crash or house fire can't wipe out your scans. Save copies to an online backup service, to an external hard drive (stored in a separate location from your computer) and/or to high-quality recordable DVDs. Share copies with family, too—the more copies out there, the safer your digitized photos.
Where can I learn more about scanning historical photographs and documents?
A VueScan user produced these useful tips:
http://archivehistory.jeksite.com/chapters/appendixb
For further help and information visit here
Every day thousands of people download VueScan to fix their old scanner
Now it's your turn to bring your scanner back to life - and keep it out of the landfill